How To Create A Realistic Cloud Material.
Using Max's Powerful Material Editor Almost Anything Is Possible. One Task I'm Often Asked About is Creating Clouds Which Render Fast But Look Realistic. So Heres A Little Tutorial on it.
There is no Max File Needed For This Tutorial.
First Run or Reset Max .
Open up The Material Editor And Choose an Empty Slot.
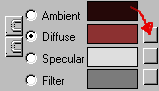
Click On The Box Next To The Diffuse Colour
Make Sure The Browse From Option Is Set To New.
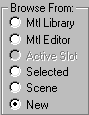
Choose Noise From The List.
Under The Noise Parameters Rollout Make The Following Settings.
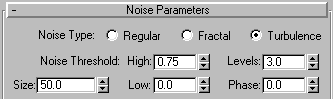
The Colours should already be set but if not just make sure color #2 is Pure White. Then Click On The Maps Button Next To Color #1,Again Choose Noise From The List.Make The Folowing Changes Under Noise Parameters Rollout
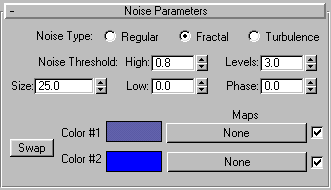
And Set The Colours To Roughly The Same as Here ...
Color #1=99,99,172
Color #2= 0,0,255
Your Texture Should Then Look Like This
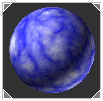
Then Apply Your New Texture To An Object...Animation Should Be
Dealt With By Adjusting The Phase Of The First Noise Over Time.
Some Suggestions Would Be .05 Per Frame Of course Feel Free To
Adjust These Settings To Acheive The Speed and Colours You need.
TIP: Always Remember to name your maps and materials It Makes It
So Much Easier To Edit Them In Track View Later on.